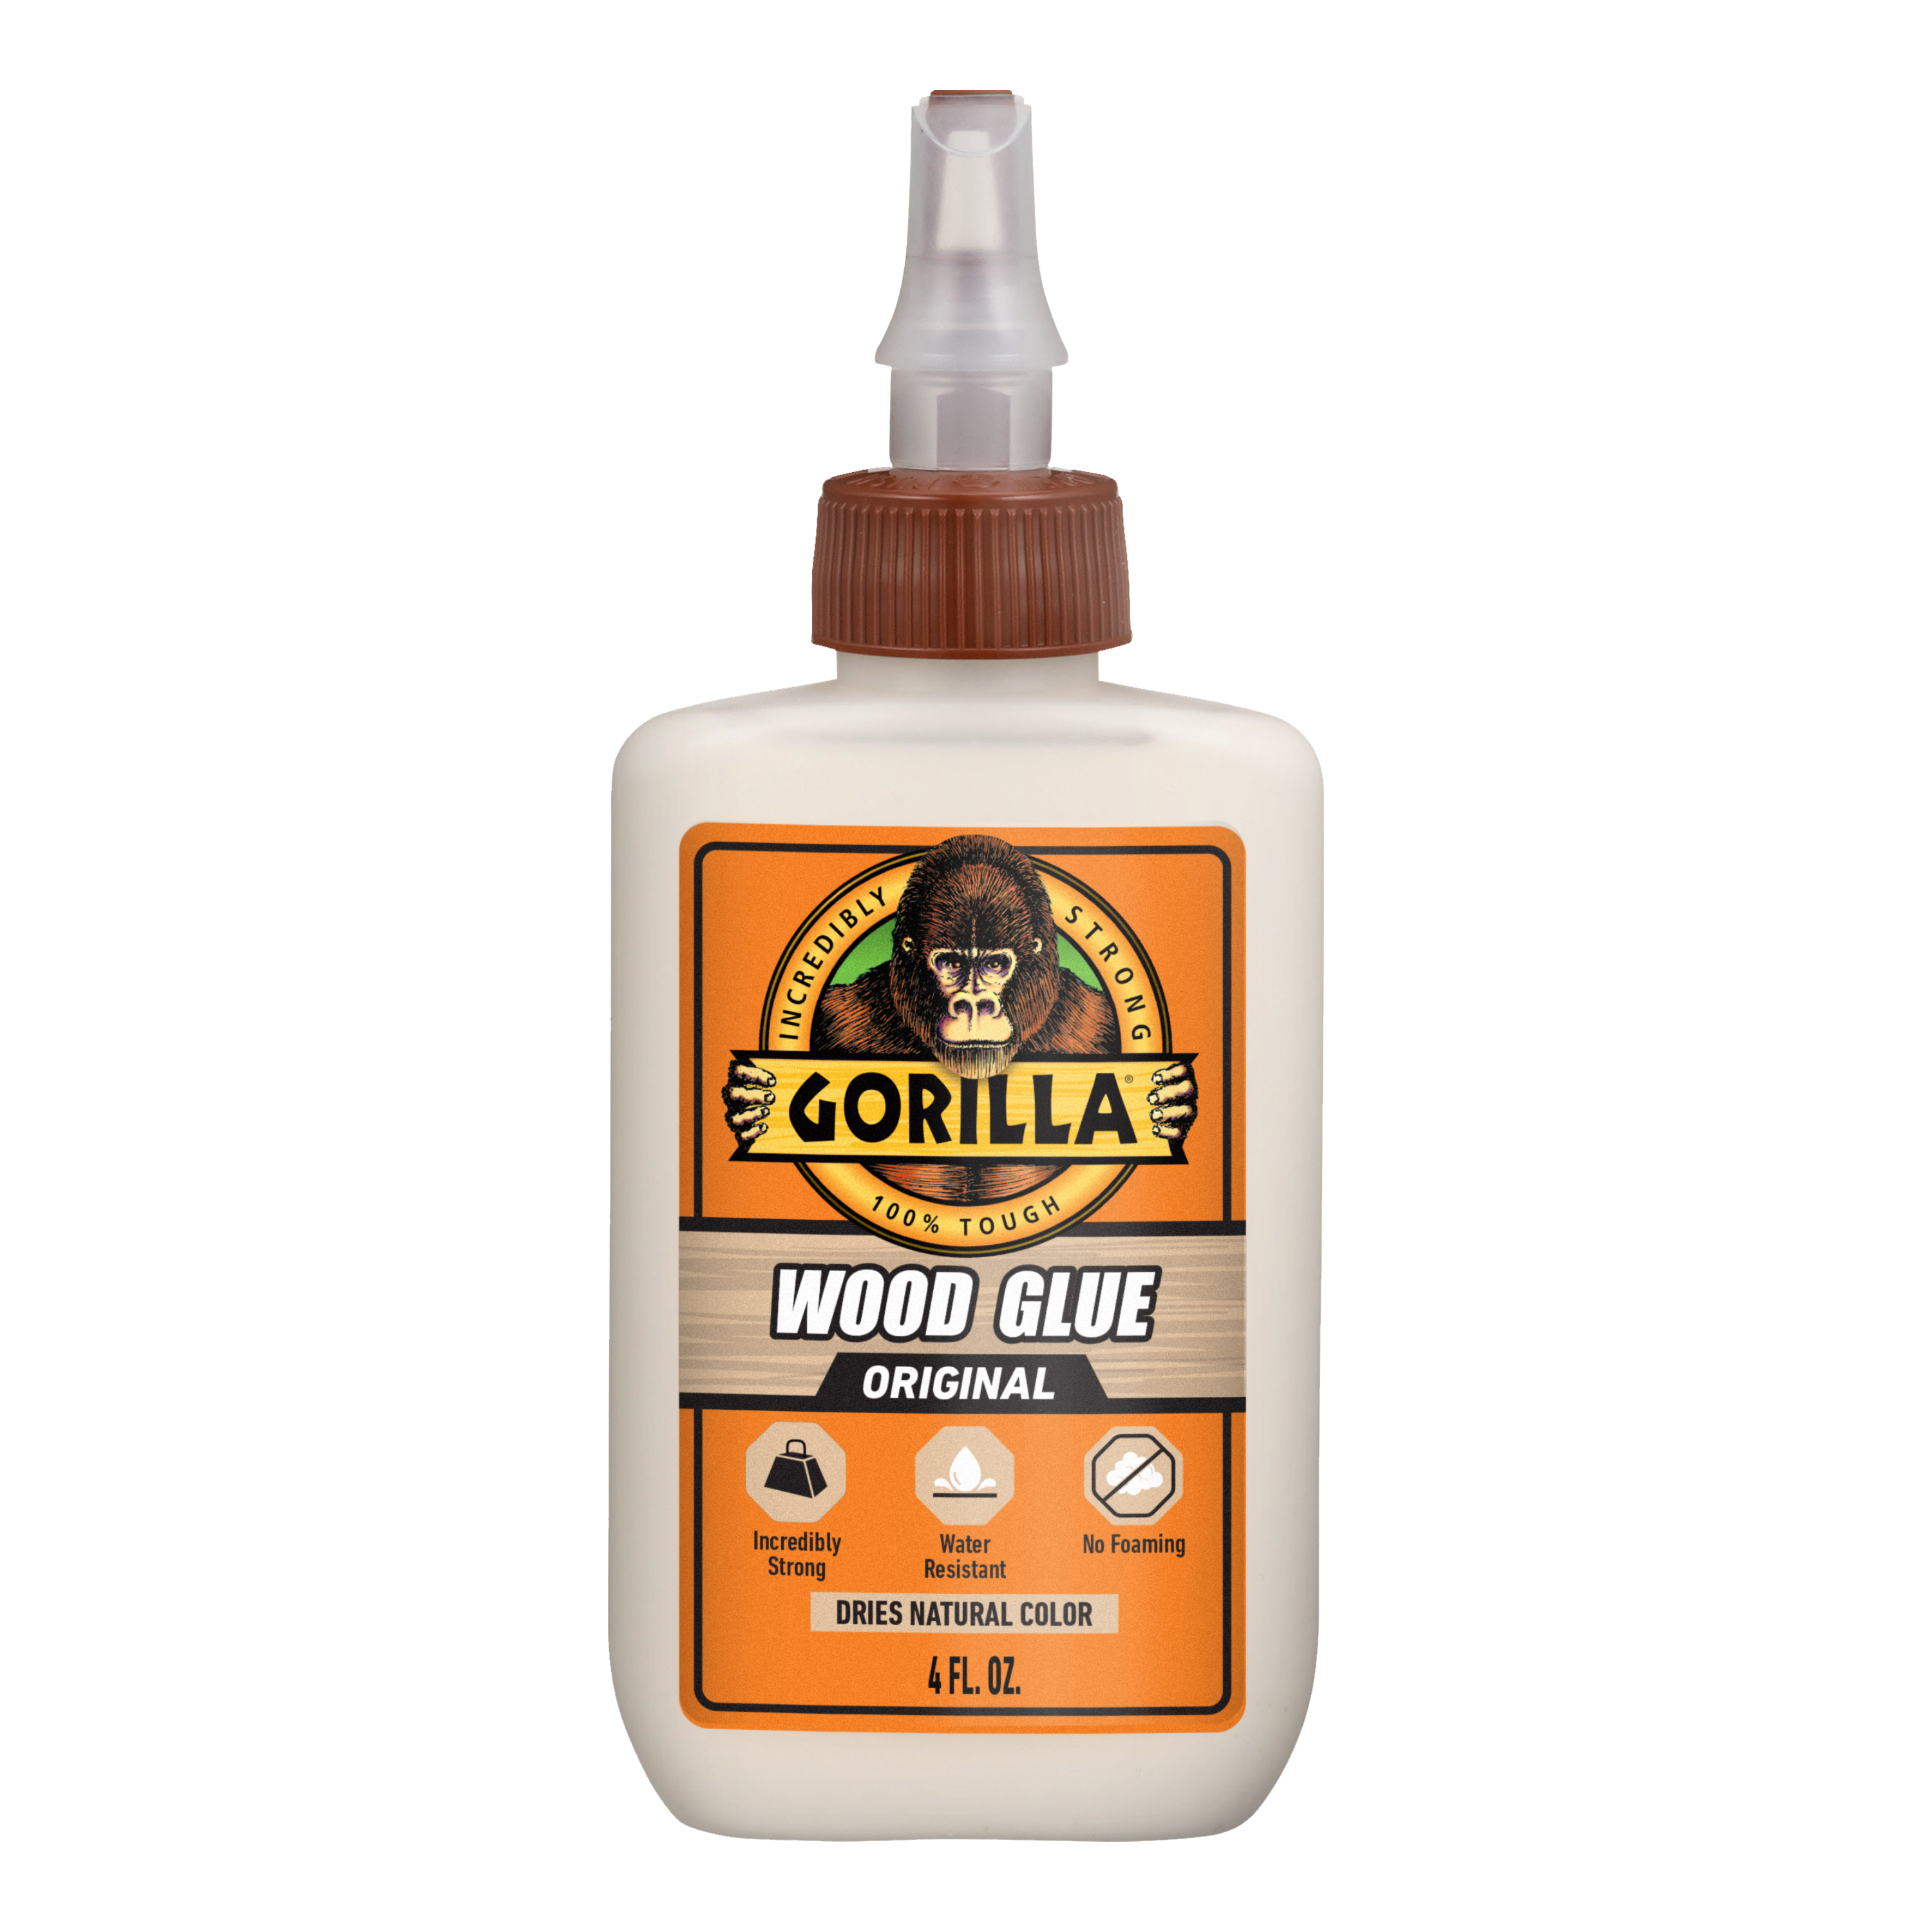
Gorilla Wood Glue

Gorilla Wood Glue - 8 oz.

Gorilla Wood Glue

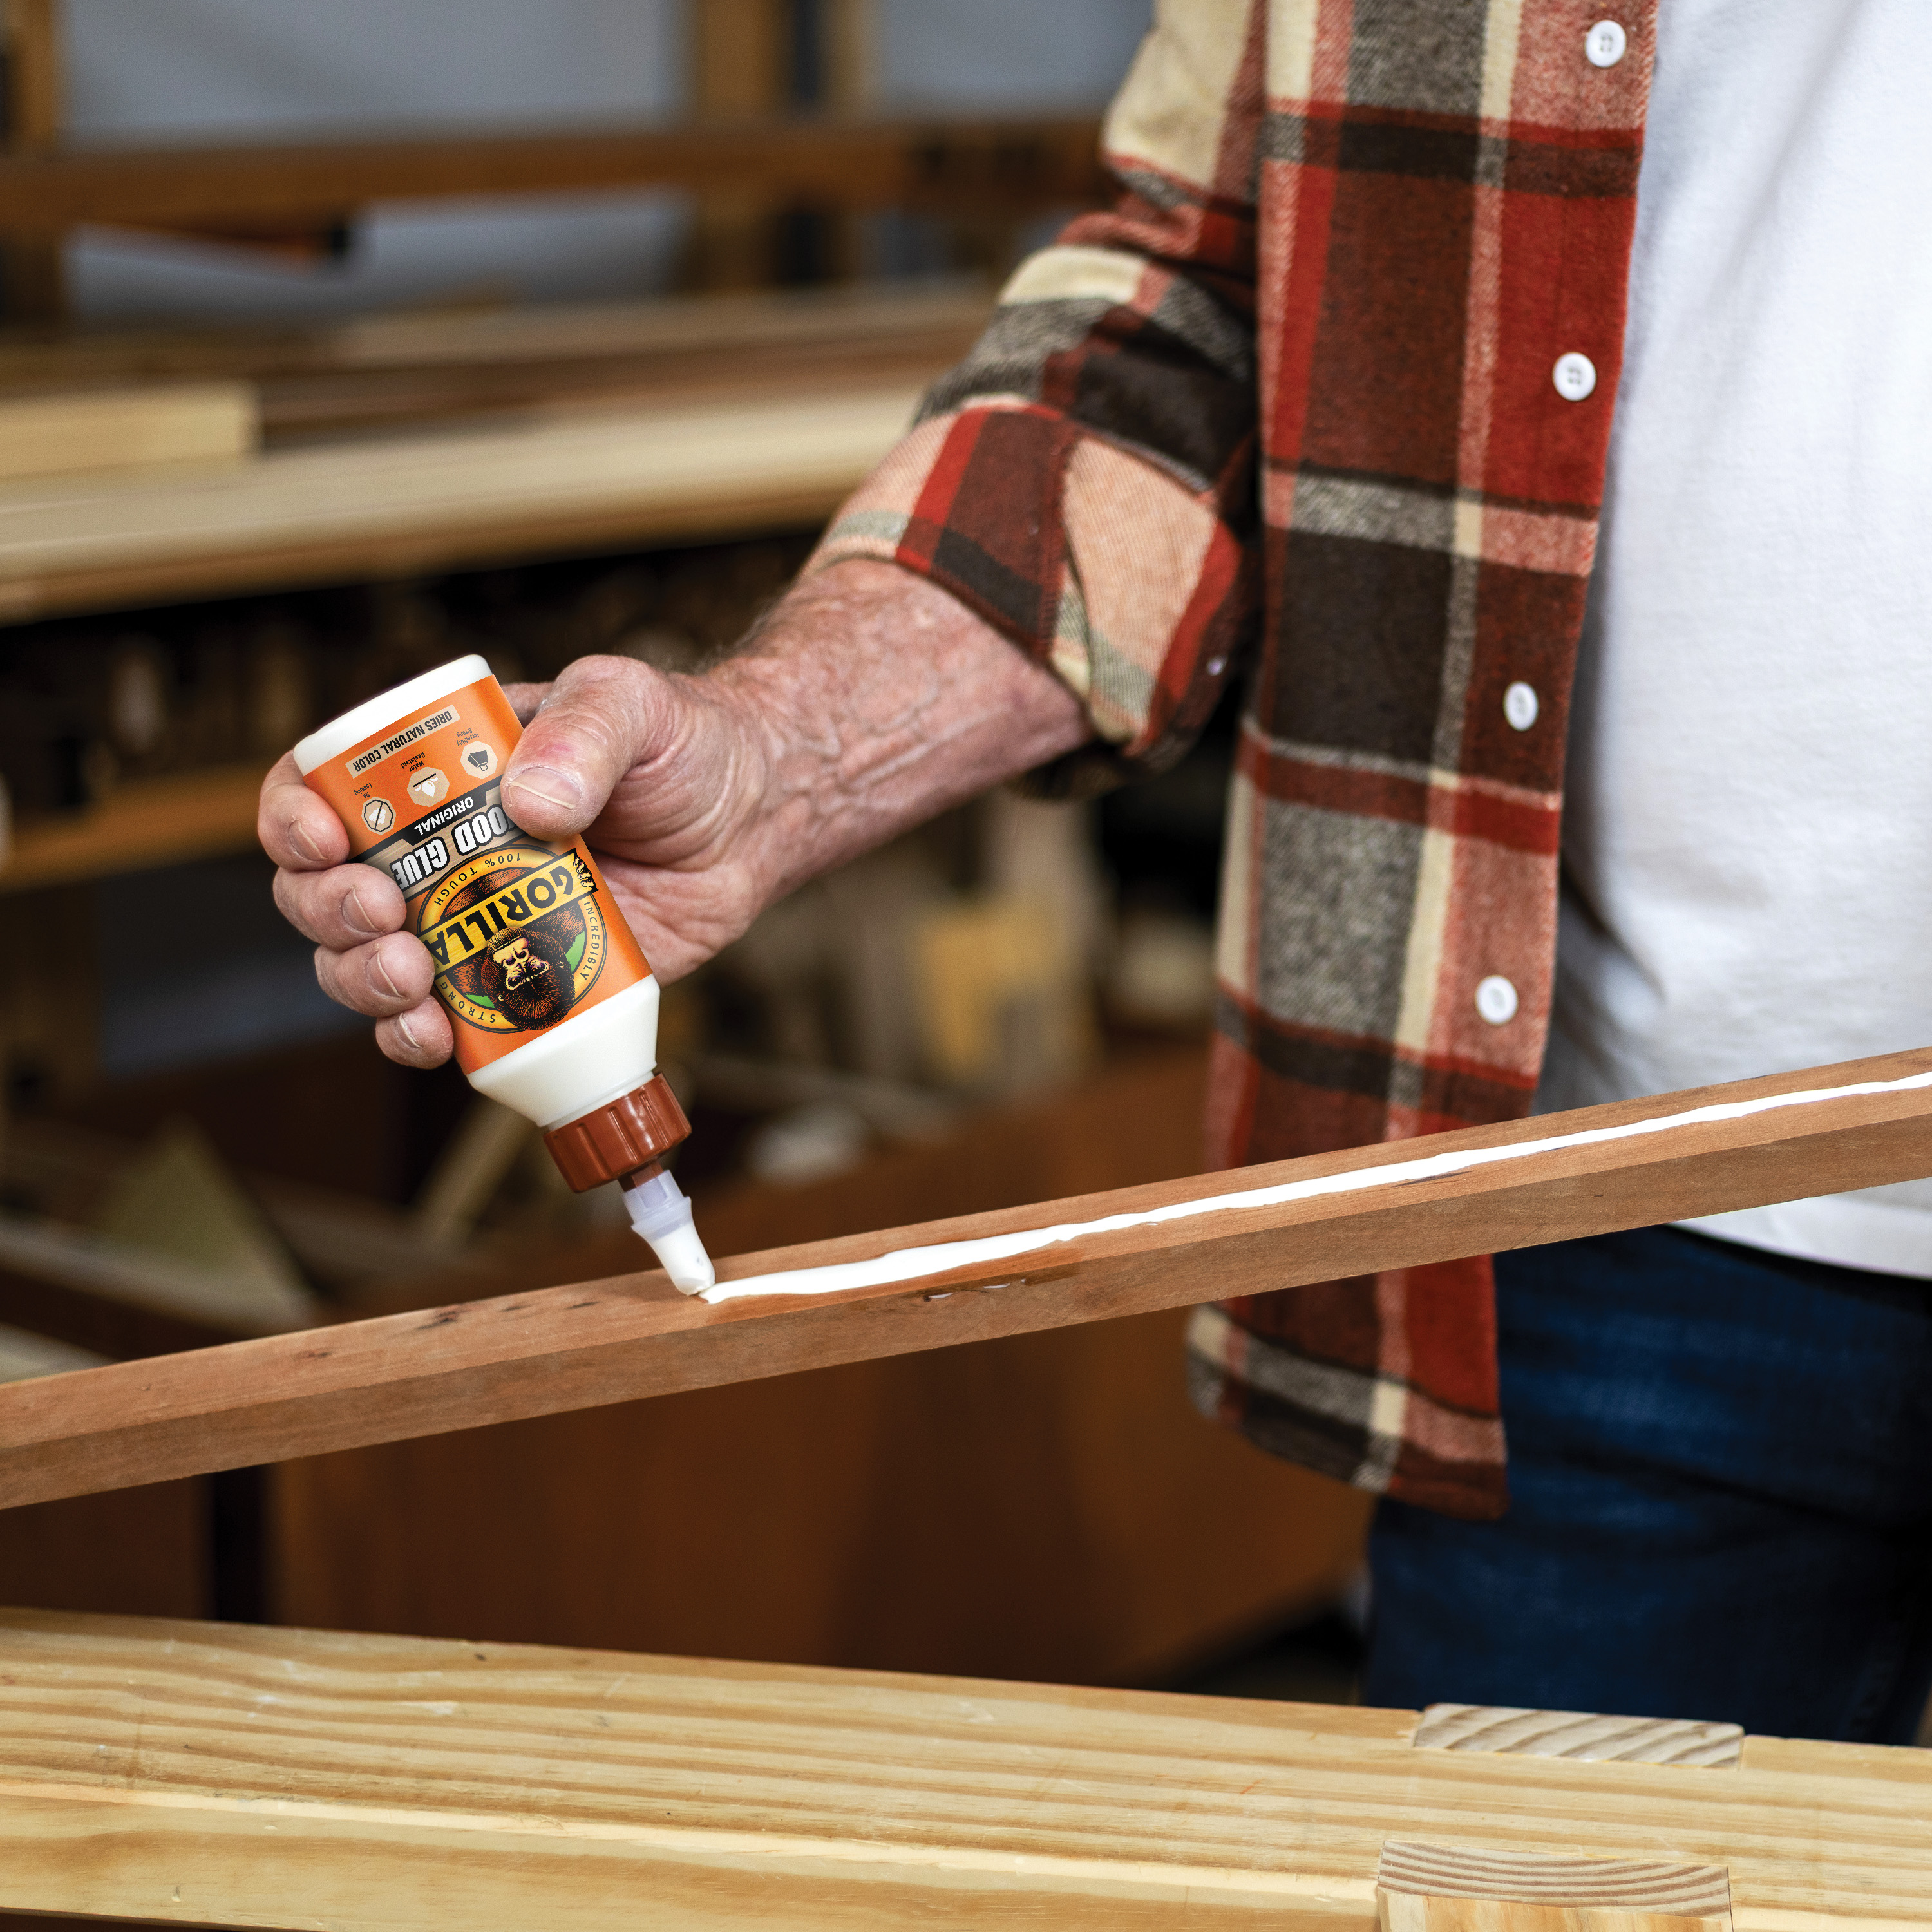
Gorilla Wood Glue, a PVA glue, offers the benefits of an easy-to use, water-based adhesive, with Gorilla strength. It is incredibly water resistant and versatile, making it great for both indoor and outdoor wood working projects.

Sizes

SEE PROJECT IDEAS
View product details View Gorilla Wood Glue Product Details
Incredibly strong for wood projects
Dries natural color no-foaming
Type 2 use Indoor/outdoor

Product Features

  • COMPLETE PROJECTS FAST: Requires only 20-30 minutes of clamp time, fully cured in 24 hours.
  • USE INDOORS OR OUTDOORS: Passes ANSI/HPVA Type II water resistance.
  • VERSATILE: Ideal for use on hardwoods, softwoods, and natural wood composites.
  • DRIES NATURAL COLOR: Offering a natural bond line.
  1. Application

    For best results, it is essential that the wood surfaces are prepared prior to application of glue. For laminating, the surfaces should be planed smooth, leaving the board surface free from machine marks, tear-out and snipes. Also, be careful to avoid burnishing and end snipes. Just how much Gorilla Wood Glue to apply depends on many factors. In general, apply a generous amount of glue on one of the surfaces. On hard-to-glue woods, apply the glue on both surfaces. Rub together with the other surface to distribute the glue evenly on both surfaces. Enough glue should be applied so that a fine bead of glue squeeze-out will occur when clamping. Coverage: 1 gallon of Gorilla Wood Glue will cover about 200 square feet. 1 fluid ounce will cover approximately 1.6 square feet.

  2. Clamping

    The technique and type of clamp to be used is determined by many factors: the specific type of joint, type of stock or lumber, moisture content of stock, room temperature, assembly time and surface quality. In general, apply enough pressure that will cause a fine bead of glue to squeeze out when the proper pressure is applied.

    Clamping Time (amount of time pressure needs to remain applied): 20–30 minutes for room temperature applications. The temperature must be above 55°F. Note that clamping time can be dependent on temperature, humidity, and the porosity of the wood.

    Cure Time (amount of time for glue to reach total bonding strength): 24 hours

  3. Clean Up

    Clean up while glue is wet: Use a clean, damp cloth to wipe off excess glue. Make as many passes as needed with the clean area of the cloth to remove all the glue. When areas have completely dried, sand as needed. Wash hands, skin and damp cloths in soap and warm water, then rinse.

    Clean up when glue has dried: Use a sharp putty knife, razor, or sharp scraper to shave hardened glue from surface, then sand as needed. Soak hands and skin in soap and warm water, wash, then rinse.

    Cleaning the bottle tip: Use a clean, damp cloth to wipe off excess glue after closing. If tip becomes clogged with dry glue, remove the cap and push the clog backwards with a toothpick, then rinse cap with warm water.

    To remove Gorilla Wood Glue from hands, wash with warm soap and water.

First Aid and SDS information

APPLICATION TEMPERATURE – 55° to 75° F, best at room temperature

SERVICE TEMPERATURE – 0° to 150° F

OUTDOOR – Yes, under covered area

MOISTURE RESISTANT – Water resistant – not recommended for continual water exposure

PAINTABLE – Yes

SANDABLE – Yes

STAINABLE – No

EXPANDS WHEN CURED – No

CURED COLOR – Natural tan wood color

TECHNICAL STANDARDS – ANSI/HPVA Type II

STORAGE TIPS  –Store at room temperature. Wipe excess glue from spout and keep sealed.

GAP FILLING – No

Storage

To extend shelf life, keep the container sealed and stored at 55°F-75°F. Gorilla Wood Glue will not harden in the bottle as long as the cap is closed and water is not allowed to evaporate from the bottle. This is freeze/thaw stable. If the glue is frozen, thaw at room temperature. If necessary, shake vigorously to restore to original consistency.

Finishing

What is the Dry Color?– Gorilla Wood Glue dries a natural translucent tan color, without an orange after-glow.

Painting – Gorilla Wood Glue can be sanded and painted.

Stains and Dyes – Gorilla Wood Glue can be stained and dyed. However, the color may be a shade off the wood being glued. Water-soluble food coloring type dyes and water based stains can be mixed into the glue before the glue is applied to the wood to get a closer color match. Experiment with varied mixtures to achieve the closest match to the final color desired.

Sealers, Urethanes, Varnishes, and Shellacs – Gorilla Wood Glue can be sealed.

Wood Fillers – Gorilla Wood Glue can be used as a wood filler. To ensure homemade wood fillers adhere to the surface, use the finest dust particle of wood possible when mixing with the glue. Also, make sure the ration of glue creates a toothpaste consistency. Use sparingly, as the product will not stain consistently with the surrounding wood.

Application Tips

Application Temperature – For maximum performance, the recommended application temperature for Gorilla Wood Glue is 70°F, but it can be applied as low as 55°F. If application temperature exceeds 70°F, you can expect the assembly time to be shorter. Other important temperatures: Once cured, extreme cold will not affect the holding power of Gorilla Wood Glue. When exposed to extreme heat (near 220°F), the bond can hold but only at a fraction of its normal strength.

Hard To Glue Woods – The hardest of exotic woods, like ebony, may present some glue absorption problems and may be too smooth for gluing. Also, harder woods, when burnished during planing, present problems for gluing as the surface gets very shiny and slick.

Achieving the optimal gluing surface should be done by sanding using higher grit sandpaper (220+). Lightly sand to ensure open surface pores and remove any glazing.

Oily woods can also be more difficult to bond due to oil resistance to water. The best solution for oily woods is to wipe them down with rubbing alcohol or acetone to cut and remove the oil from the wood surface. Glue after the solvent has dried completely on the surface.

Clamping – Factors that affect clamping include the specific type of joint, type of stock or lumber, moisture content of stock, room temperature, assembly time, and surface quality.

Recommended clamping pressure by wood density in pounds per square inch (PSI)
Low 100-150 psi
Medium 125-175 psi
High 175-250 psi

Surface Preparation

Thickness Planing – For laminating, wood surfaces should be thickness planed smooth, leaving the board surface free from machine marks, tear out and snipes. Best results are achieved with sharp knives and equipment that is accurately adjusted and maintained.

Burnishing– When planing harder woods, an effect called burnishing can occur. Burnishing occurs when the board moves through the planer at a slow rate of speed while the cutting knives are operating at a faster rate. Burnishing is realized when not enough material is removed from the board, leaving the surface shiny and slick. Burnishing seals the board’s surface, which will reduce adhesive penetration.
Solution: Remove material to the final desired thickness at one time, if possible. If not, sand the board surface with a fine grit sandpaper to open the surface pores and to remove glazed appearance. To confirm that the surface is suitable for gluing, place a small water drop on the surface. If the drop disperses within a minute or two, the surface will accept glue. If the drop does not penetrate the surface, then the board will not accept the adhesive.

End Snipe – End snipe is the gouging or depression of a board. It can occur at either end of the board, when entering the out-feed roller or in-feed roller.
Solution: Make sure the planer is adjusted to factory specifications. The planer table should be clean and should be waxed and polished with a carnauba wax. A board that is 8′-12′; from the center of the planer will not be held steady on the planer table with just one spring loaded feed roller. To help reduce end snipe, support the end of the board (by hand or by roller stand) slightly higher than the planer bed during in-feed and out-feed.

Abrasive Planing and Sanding – Achieving wood’s final thickness and optimal gluing surface can be done by sanding. After evaluating the wood density and quality of the surface after planing (machine marks, snipes), determine the coarsest grit sand paper possible that won’t raise the fiber or grain of the wood (60-100 grit). Then, step up sequentially in grit after each sanding (up to 120-220 grit).

Edge and End Joining – Most often, edge to end joining is used to create a larger flat surface from smaller boards. Joining is the process of connecting boards edge-to- edge or end-to- end with glue and specific joinery techniques. It is usually performed after stock has been thickness planed. Edges need to be free from machine marks, tear out and snipes. Joining ends requires some additional attention since it involves end grain. Blades and knives need to be very sharp to prevent tear out and a coarse surface.
Use a joiner or hand sander to straighten board edges after sawing, a joiner or hand planer is used to ensure the straightest and flattest surface for gluing.
Achieving the optimal gluing surface should be done by sanding, using a higher grit sand paper (220+) and an edge sander, sanding block or edge sanding jig. Lightly sand to ensure open surface pores and remove any glazing.

Types of Lumber

Rough Sawn Lumber – Rough sawn lumber appears as its name implies. The wood is cut from logs into boards leaving a rough surface and varied thickness, lengths and widths. The wood is sold either as green, air-dried, or kiln dried. For the purpose of gluing, kiln dried boards are the best. We recommend checking the moisture content of any wood before purchase, regardless of the drying process. If possible, use a moisture meter to probe the end grain of the board(s). Moisture content of 4-7% for hardwoods and 6-8% for softwoods is recommended.

Pre-dressed or Processed Lumber – Pre-dressed lumber has already been kiln dried, thickness planed, sanded and sawn to consistent thicknesses, lengths and widths. With the exception of cutting to dimension and shaping, achieving the optimal gluing surface is a matter of simple sanding. Use a higher grit sand paper (220+) and lightly sand to ensure open surface pores.

Composite Lumber – Composite lumber is composed of wood veneers, fibers, chips, sawdust and adhesives. Examples include plywoods, oriented strand board (OSB), Masonite™, pegboard and fiber boards (MDF, HDF).

We realize any DIY project may have a spill and we want to help you with tips and tricks to successfully remove glue from fingers and nails.

For bonded skin, please call 1-800-420-7186 to speak to a medical professional.

How do I remove Gorilla Wood Glue from my surface?

To clean up while glue is wet, use a clean, damp cloth to wipe off excess glue. Make as many passes as needed with the clean area of the cloth to remove all the glue. When areas have completely dried, sand as needed. To clean up glue that has dried, use a sharp putty knife, razor, or sharp scraper to shave hardened glue from surface, then sand as needed.

Gorilla Wood Glue is too thick for my application, can I thin this glue?

Gorilla Wood Glue, unlike Original Gorilla Glue, is a water-based adhesive. You can thin Gorilla Wood Glue by adding water (not to exceed 5% weight).

Will Gorilla Wood Glue bond plastic/vinyl/rubber?

Gorilla Wood Glue is intended for use on hardwoods, softwoods, cardboard, cork, and composite lumber.

Is Gorilla Wood Glue food safe?

Once cured, Gorilla Wood Glue complies with FDA #CFR21 175.105 for indirect food contact and can be used on projects such as salad bowls and cutting boards.

How can I clean a clogged tip?

To clean the bottle tip, use a clean, damp cloth to wipe off excess glue after closing. If tip becomes clogged with dry glue, remove the cap, pull off the nozzle, and push the clog backward with a toothpick, then rinse cap with warm water. If you have difficulty pulling up on the nozzle, use a pair of pliers or scissors placed at the base of the nozzle and twist slightly.

What should I do if I think a human or animal has ingested Gorilla Wood Glue?

For medical emergencies, call 1-800-420-7186 anytime to reach a member of our product safety team.

Additional product safety and first aid information

How do I remove Gorilla Wood Glue from my body or skin?

To remove Gorilla Wood Glue from fingers and nails, wash with soap and warm water.